
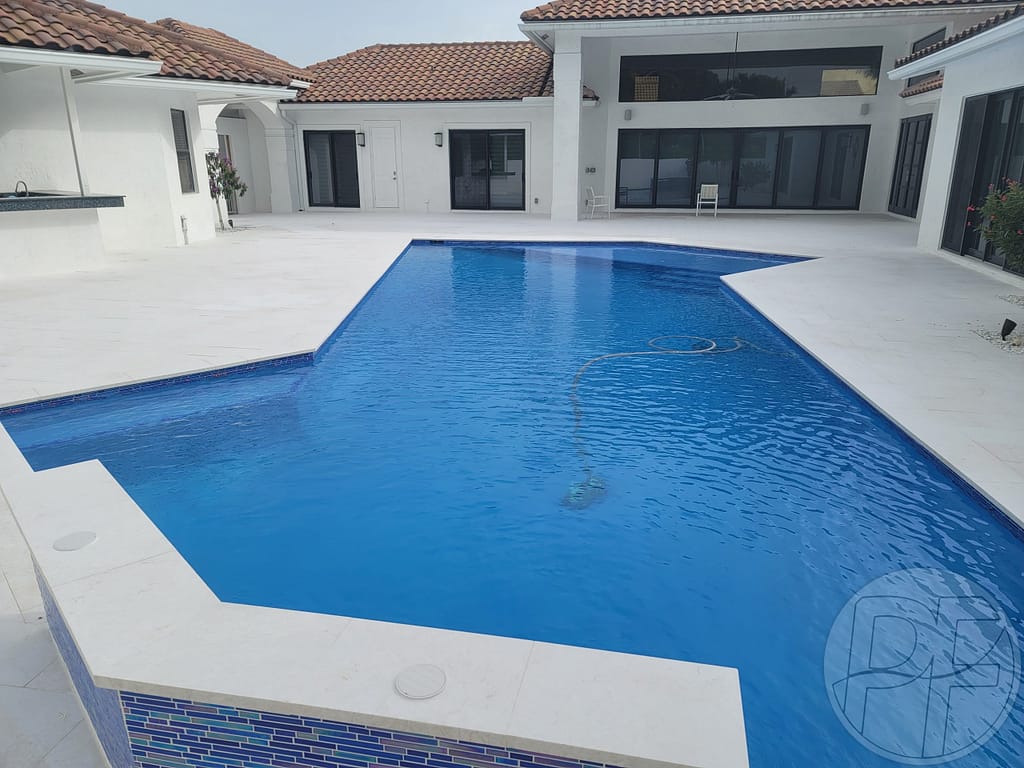
Pool Resurfacing: Transform Your Backyard Oasis
Are you ready to revitalize your South Florida backyard with a stunning pool transformation? Pool resurfacing not only enhances the aesthetic appeal of your backyard pool oasis but also extends the life of your pool. At Pools Finishing Inc., our detailed and meticulous pool and deck remodeling process ensures you’ll enjoy a vibrant and durable pool finish. In this guide, we’ll walk you through the step-by-step pool re-plastering process, from draining to water refill, so you know exactly what to expect.
Step 1: Draining the Pool
The first step in pool resurfacing involves draining the pool. Our team will carefully manage the water drainage to ensure safety and environmental compliance. This step is crucial for accessing and inspecting the pool’s surface.
Tip: Plan your pool renovation during South Florida’s drier months to avoid weather delays.
Step 2: Surface Preparation
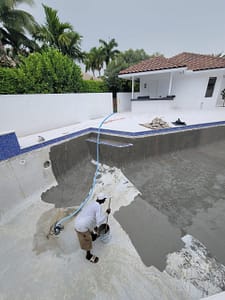
Once drained, the pool surface is prepped by removing the old plaster. Our experts use specialized tools to strip away the existing material, ensuring a clean foundation for the new plaster application. This step may also involve repairing any cracks or structural damage to ensure a smooth and durable finish.
Tip: Consider upgrading your waterline tile during this phase for a complete pool and deck remodeling experience.
Step 3: Applying the Bond Coat
Before the new plaster is applied, a bond coat is applied to create a superior adhesion between the old surface and the new plaster. This step is essential for the longevity and durability of the plaster.
Step 4: Plaster Application
Now, the exciting part! Our skilled technicians apply the new plaster using time-tested techniques to ensure even distribution and a flawless finish. You can choose from various finishes and colors to match your backyard aesthetic, from classic white to vibrant hues.
Tip: Incorporate water features or a sun shelf to upgrade your pool’s functionality and style.
Step 5: Curing Process
Once the plaster is applied, it needs time to cure. During this period, our team will guide you on maintaining proper water chemistry to ensure the plaster sets correctly. It’s crucial to follow these instructions to avoid any damage to the new surface.
Step 6: Refilling the Pool
After the curing process, it’s time to refill your pool with water. Our team will handle the refill, balancing the water chemistry to protect the new plaster. This step marks the completion of your pool’s stunning transformation.
Tip: Take this opportunity to add waterline tile or update your outdoor kitchen area to complete your backyard oasis.
Long-Term Benefits and Maintenance
Pool resurfacing not only enhances your pool’s appearance but also improves its longevity and safety. Regular maintenance, including checking water chemistry and cleaning, is essential for preserving the new finish. Our team at Pools Finishing Inc. offers comprehensive maintenance services to keep your pool in top condition year-round.
Ready to Transform Your Backyard?
Your dream pool is closer than you think.
From resurfacing to full pool remodels —
Pools Finishing Inc. is ready to bring your vision to life.